


MILAMEMORIES


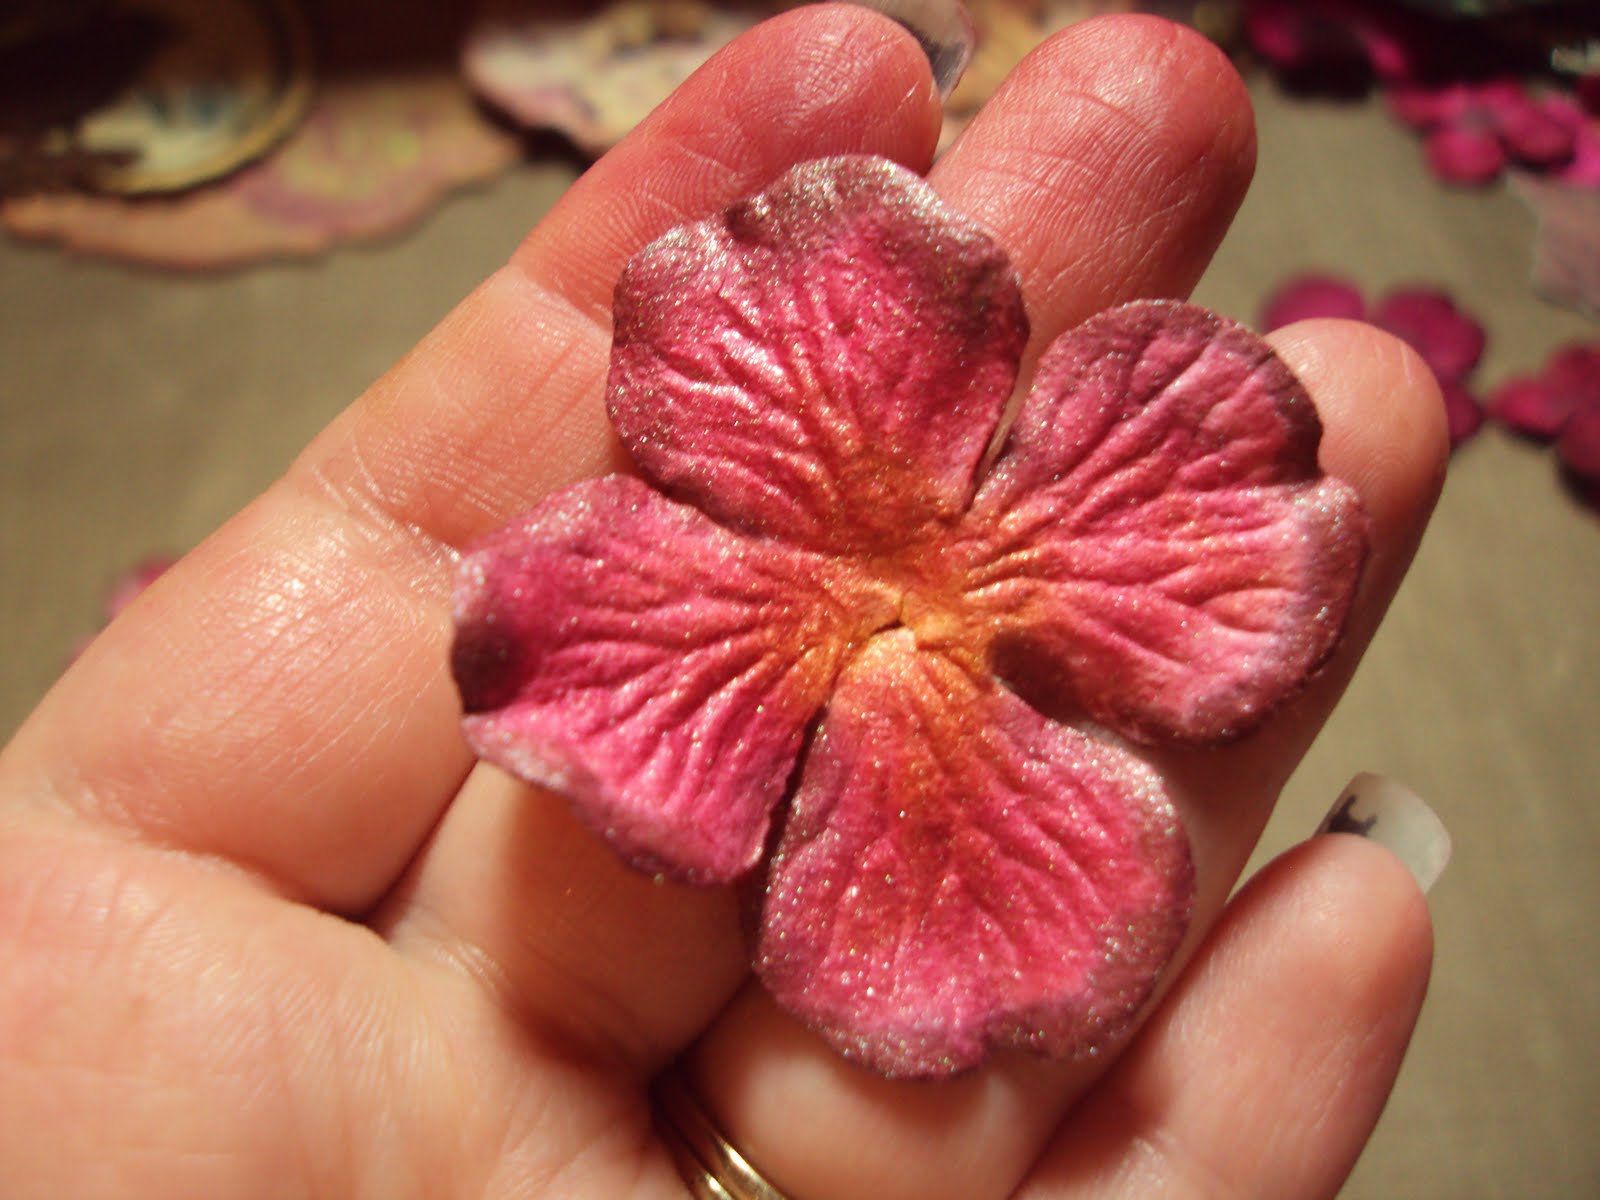
 This is a picture of the Prima hydrangea that came from a package i bought at Michaels, just thought i would show the difference between the two.
 For this next page i didn't really do much except put Iridescent Gold glimmer mist on it, my thought was that if i covered any part of it then you would loose the image that i love so much (which is a forest. LOL)
 The next page i used the bird from the Tim Holtz die, i used the same technique as i had on the bird cage, except i wanted a more redish darker look for this bird, so after i embossed it with Vintage Photo distress embossing powder i inked it up with Aged Mahogany distress ink and then i sprayed it with Ranger's Cranberry color wash, i wiped some of the wash off with a paper towel and then i heat set it. I used some Maya Road (i think that is the right manufacturer) lace on the bottom of the bird branch, Tim Holtz stick pin and adage ticket which i put diamond dust on. I didn't want to cover the image of the fairy too much because i thought it is so pretty, so i am going to put my photos on tags and then stick them behind the bird. I placed the bird so that it looked like the fairy and the bird are communicating together.
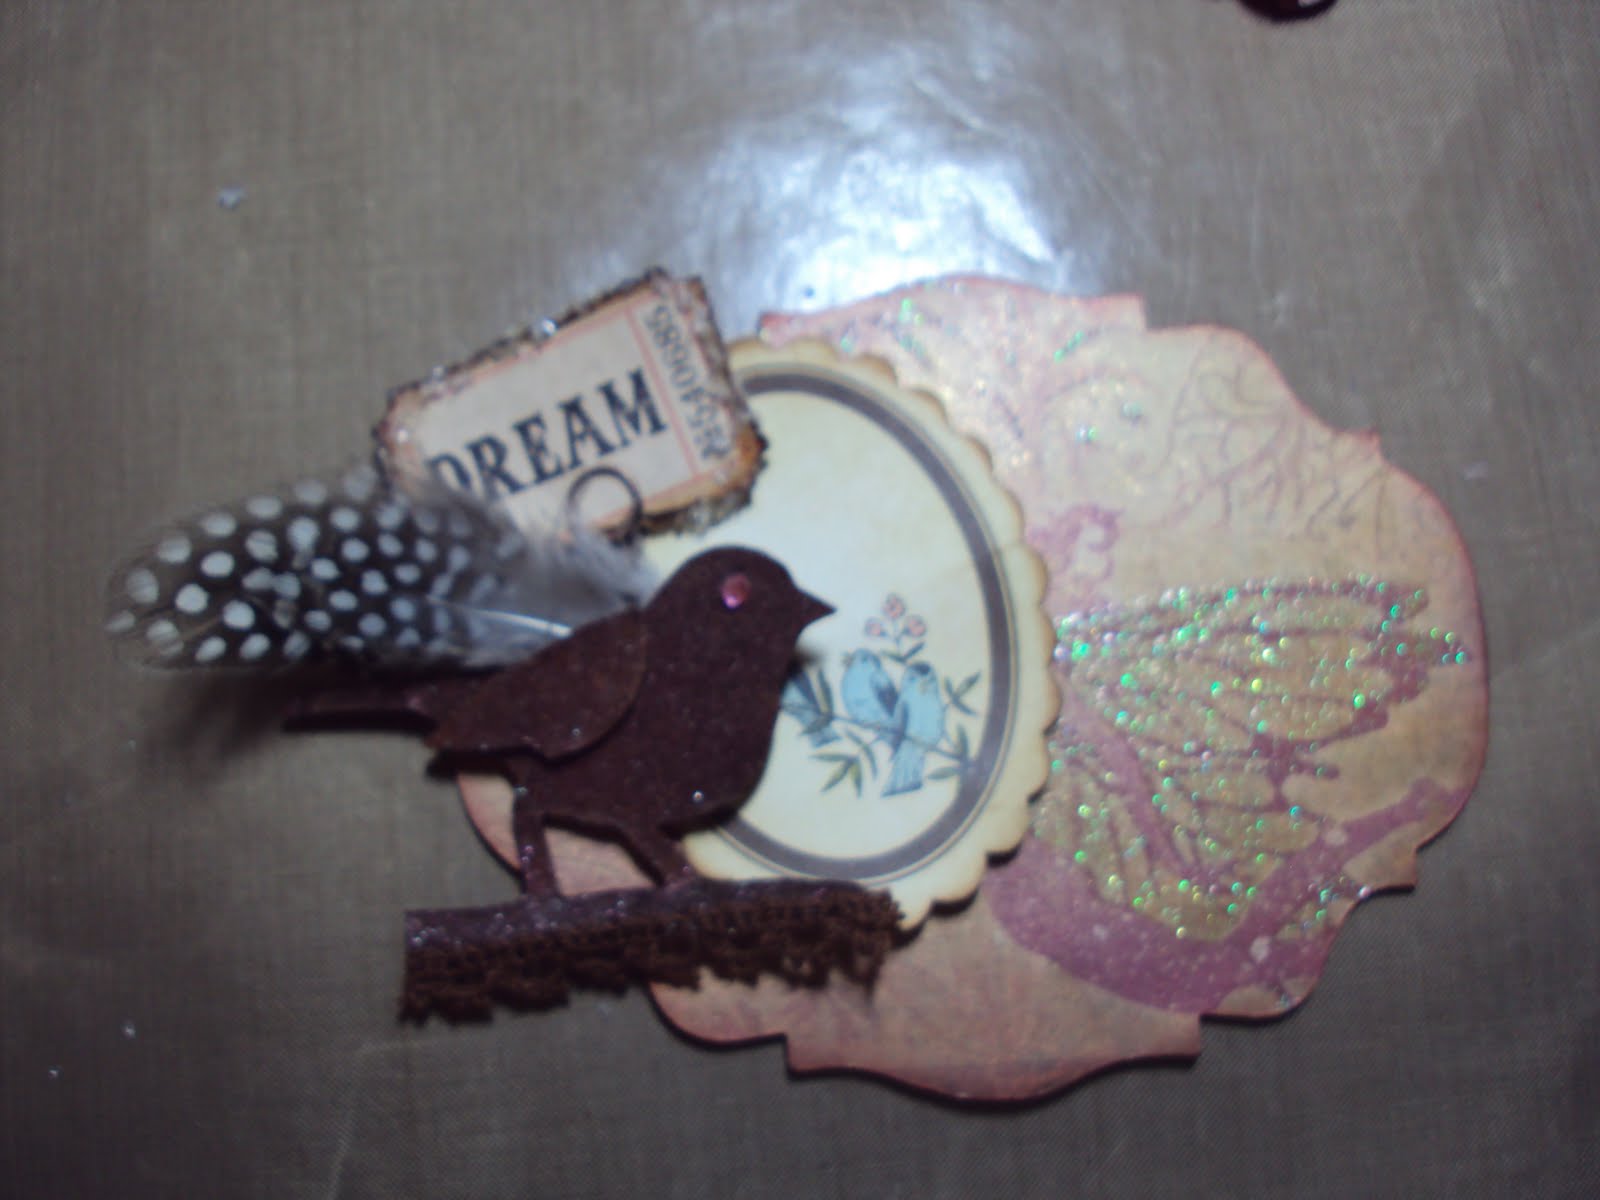

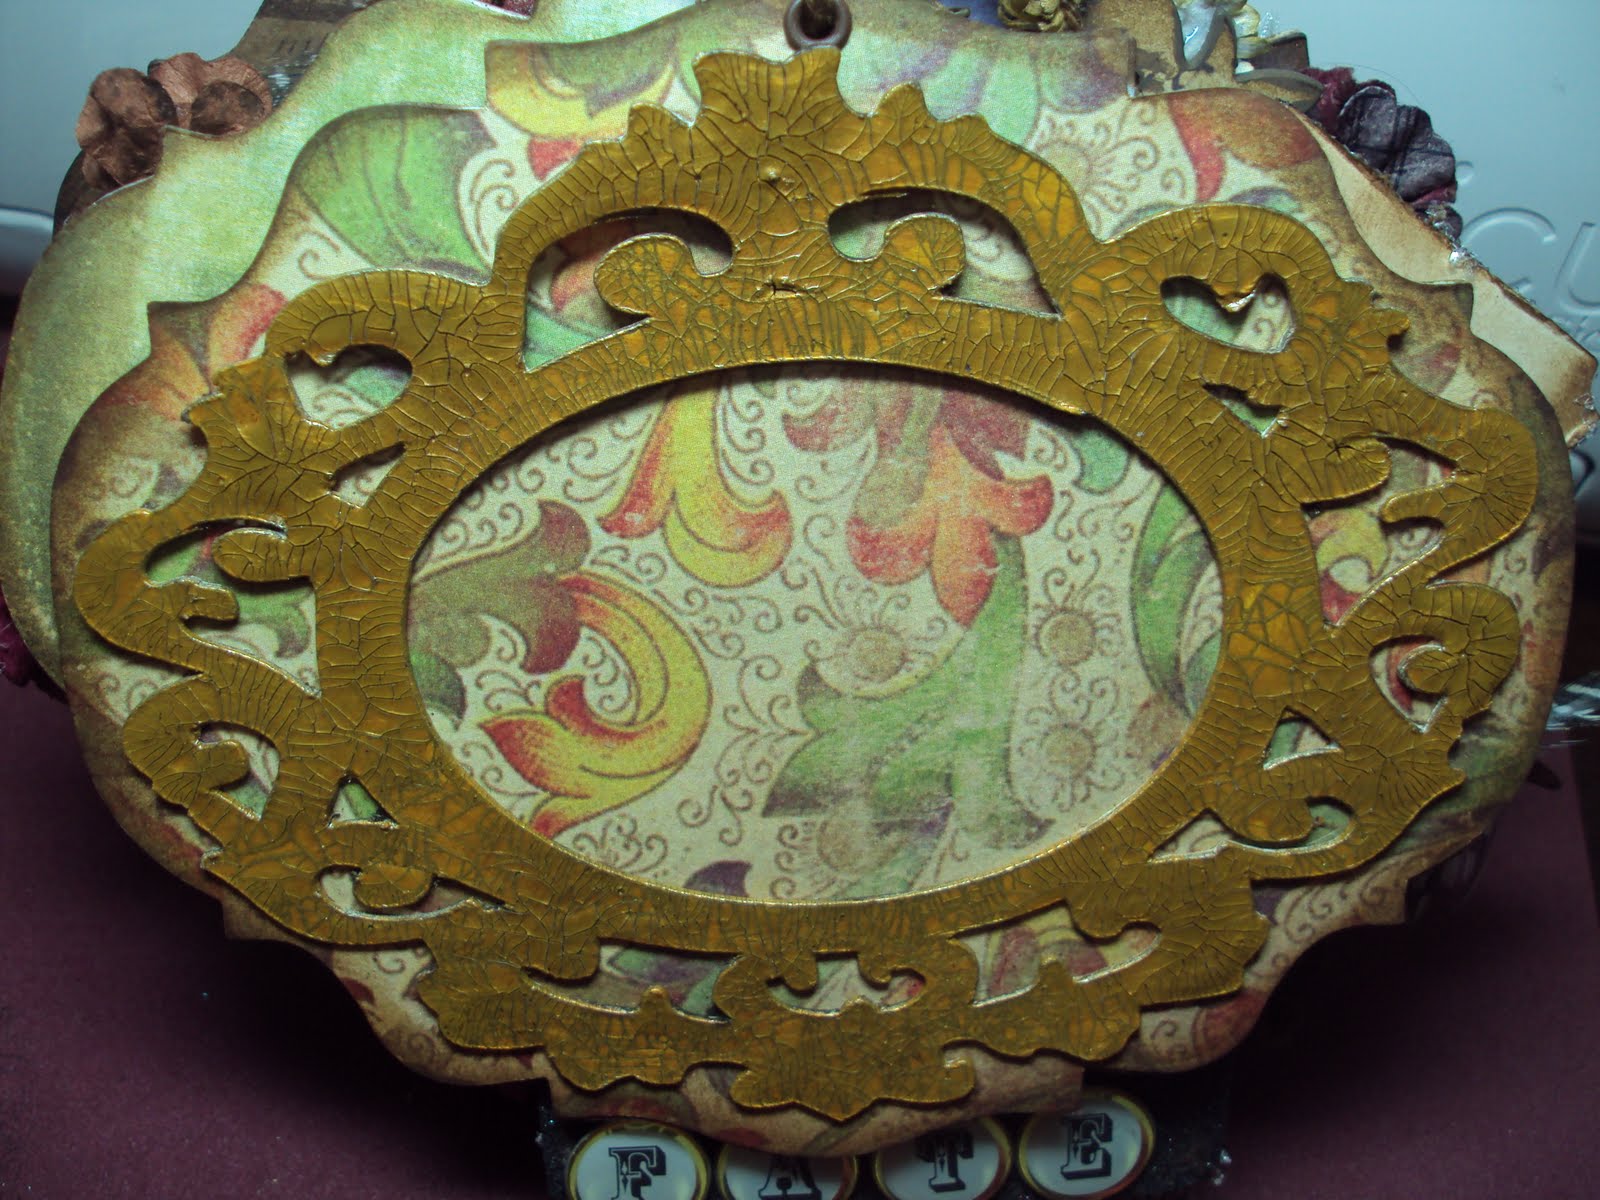
 I loved this pattern paper with the flowers. I used the Prima E-Line flowers that i colored on this page, along with some of the Prima flowers that i bought at M's. I cut out this flourish from the Sentimentals cartridge so that i can put a few tags behind that and put some Utee on it to make it stronger and shiny. Inside the flourish i put rock candy crackle paint. I am thinking i might put a photo behind the flourish as well as the tags.


 You will be seeing a ton of beach layouts since i am trying to finish our vacation album from last year. I did not get to do much while i was in school, and i am so happy that i finally get to work on these pages. It is nice to look back now and see how much my son has grown with in the year. I used the K & Company Sea Glass paper, Coordinations paper, I embossed the "water" with a sizzix embossing folder, and of coursed used my Cricut for some die cuts. I used the Life's a Beach cartiridge for the chair, the palm trees (which i welded with my gypsy), the umbrella (i used the new Hide Contour feature for this to make layers. I love it!), and the Beach Ball, I used Everyday Paper Dolls for the post that has the word Beach on it. I also wanted to make a sun at the top, but didn't really like how any of the die cuts looked, so i decided to make a lollipop flower for the sun. I put diamond dust around the Tim Holtz adage ticket as well as the sand castle chip piece. I used Rock Candy stickles on the palm trees and the turtle. I had a lot of fun making this layout. I am going to journal right next to the flower. I did make a title called Playmates, but i did not like how it came out when i cut it on the cricut. I used Life's a Beach for the weld, so i have to redo that.

 I had so much fun making the birthday frame, i decided to make a Thank You one. I pretty much did the same thing, except left this one a little more simpler, i put some diamond dust on the little prima flower.

 I had a birthday party to go to on Sunday and wanted to make a card to give (of course. LOL), but I have come to the realization that i am not very good at making cards. So, instead of a card i made a Frame that the person can use to hang, and i adhered a little note card to the back of it. I had so much fun making it. Let me tell you it was a hit, she loved the idea of a card that was a usable frame. I did not make it birthday themed so that she can put what ever photo she wanted.

