
MILAMEMORIES
Tuesday, September 27, 2011


Halloween
  |
 |
| The first thing I did was cut out the die cut using my Sizzix Big Shot and the Premium Crease pad. The crease pad really gives your die cut crisp creases, so that you just have to run |
 |
| This is the Stampin Up! Candy Wrapper die!! It is so much fun!! The actual part that cuts out is about 6 x 6 |
 |
| I used shims along with a thin piece of paper at the bottom of my sandwich so that my score marks would come out better. |
 |
| The next thing I did, since I had my Big Shot out anyway was emboss a piece of Black/White Coordinations paper. I like this paper for embossing because you can create some really neat effects with it. The one technique that I used on this project was embossing it with a Stampin Up! embossing folder and have the core of the white show through |
 |
| This is how it turns out after using the embossing folder, I set this aside to put the wrapper together |
 |
| I used my bone folder to make sure that all of the folds are super crisp and then I took my hot glue and glued the sides together. I would normally never use a glue gun for the inside of my candy wrappers or anything else that will house food inside, but for the purpose of the video I had to. My ATG gun was sick with some glue stuck to the sides. It has since then healed up and is ready to go!! :) |
 |
| In this picture, I am again making sure that my folds are super crisp, this will make it so much easier for me to put the end tabs together and be able t close the box without any adhesive |
 |
| You need to play around with the tabs a bit for them to give in and bend easily, after a few times, it is really easy and the box is put together |
 |
| After I am done putting the box together, I go back to my embossed piece and sand the black core of the card stock just a bit more. I do this so that there is more of the white core showing up |
 |
| In this picture you can really see more of the white core as opposed to the picture above |
 |
| The next thing I did was take some Spiced Marmalade and Dusty Concord distress ink and, use a direct ink to paper technique. It is just the way it sounds. I took my whole ink pad and rubbed it directly on to the paper. I did the same for both colors |
 |
| In this picture you can see the above technique, parts of what used to be the white core are now colored in with the distress inks |
 |
| I took a 2" scallop circle punch and punched the middle section of the embossed image |
 |
| After I punched out the scallop circle I adhered it to my candy wrapper using hot glue |
 |
|||
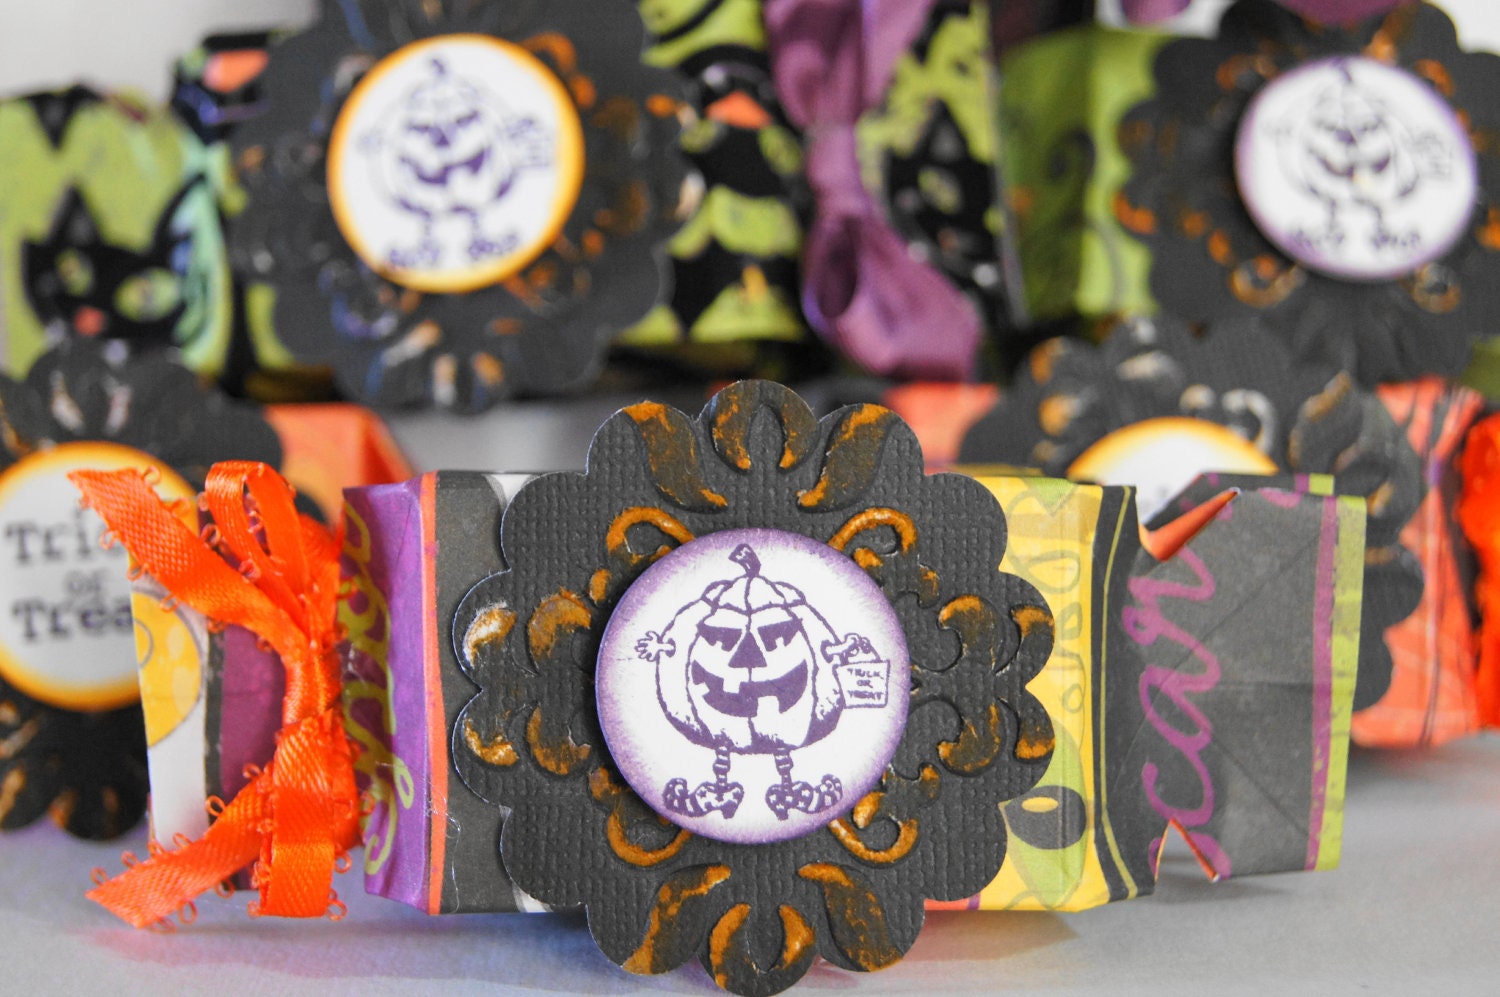
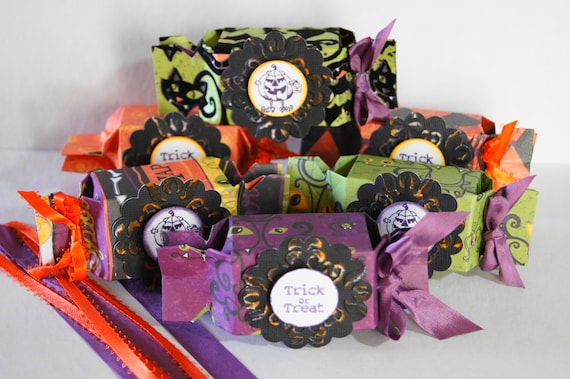
| Here is one of the finished wrappers fully embellished with a stamped pumpkin image on it. |
Wednesday, September 21, 2011
Tuesday, September 20, 2011
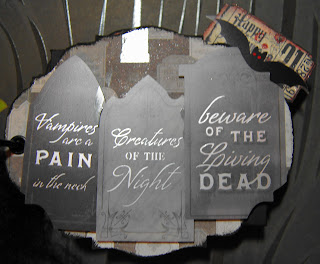
Vampire Mini Album
Materials
- Metal Book Plate
- Cricut Expression
- Sizzix Big Shot
- Sentimentals Cricut Cartridge
- Fabulous Finds Cricut Cartridge
- Happy Hauntings Cricut Cartridge
- October 31 Cricut Cartridge
- Prima Bling in Black Pearl
- Prima Mini Roses
- Prima Lace
- Tattered Angels Glimmer Mist: Wheat Fields and Old Lace
- Crafty Secrets Halloween Stamp Set
- Tim Holtz Odds and Ends Stamp Set
- Claudine Hellmuth Black paint
- Stampin Up Crystal Effects
- Tin Holtz Crackle Paint – Rock Candy
- Stampin Up Basic Black and Whisper White Cardstock




Thursday, August 18, 2011
Updates
Sunday, August 7, 2011
Back to School Blog Candy Winner!!!!
Drum Roll!!!!!!!
The back to school blog candy winner is!!!!
Dana from Danascraftycorner.blogspot.com, she said, "Beautiful cards, I love the frame."
Please contact me with your mailing address to receive your stamp set!!
Saturday, August 6, 2011
Back to School Blog Hop!!!
If you've just happened to come across my blog please check out each of the super talented ladies blogs below. There will be some fun prizes along the way, AND there will be some AWESOME ideas!
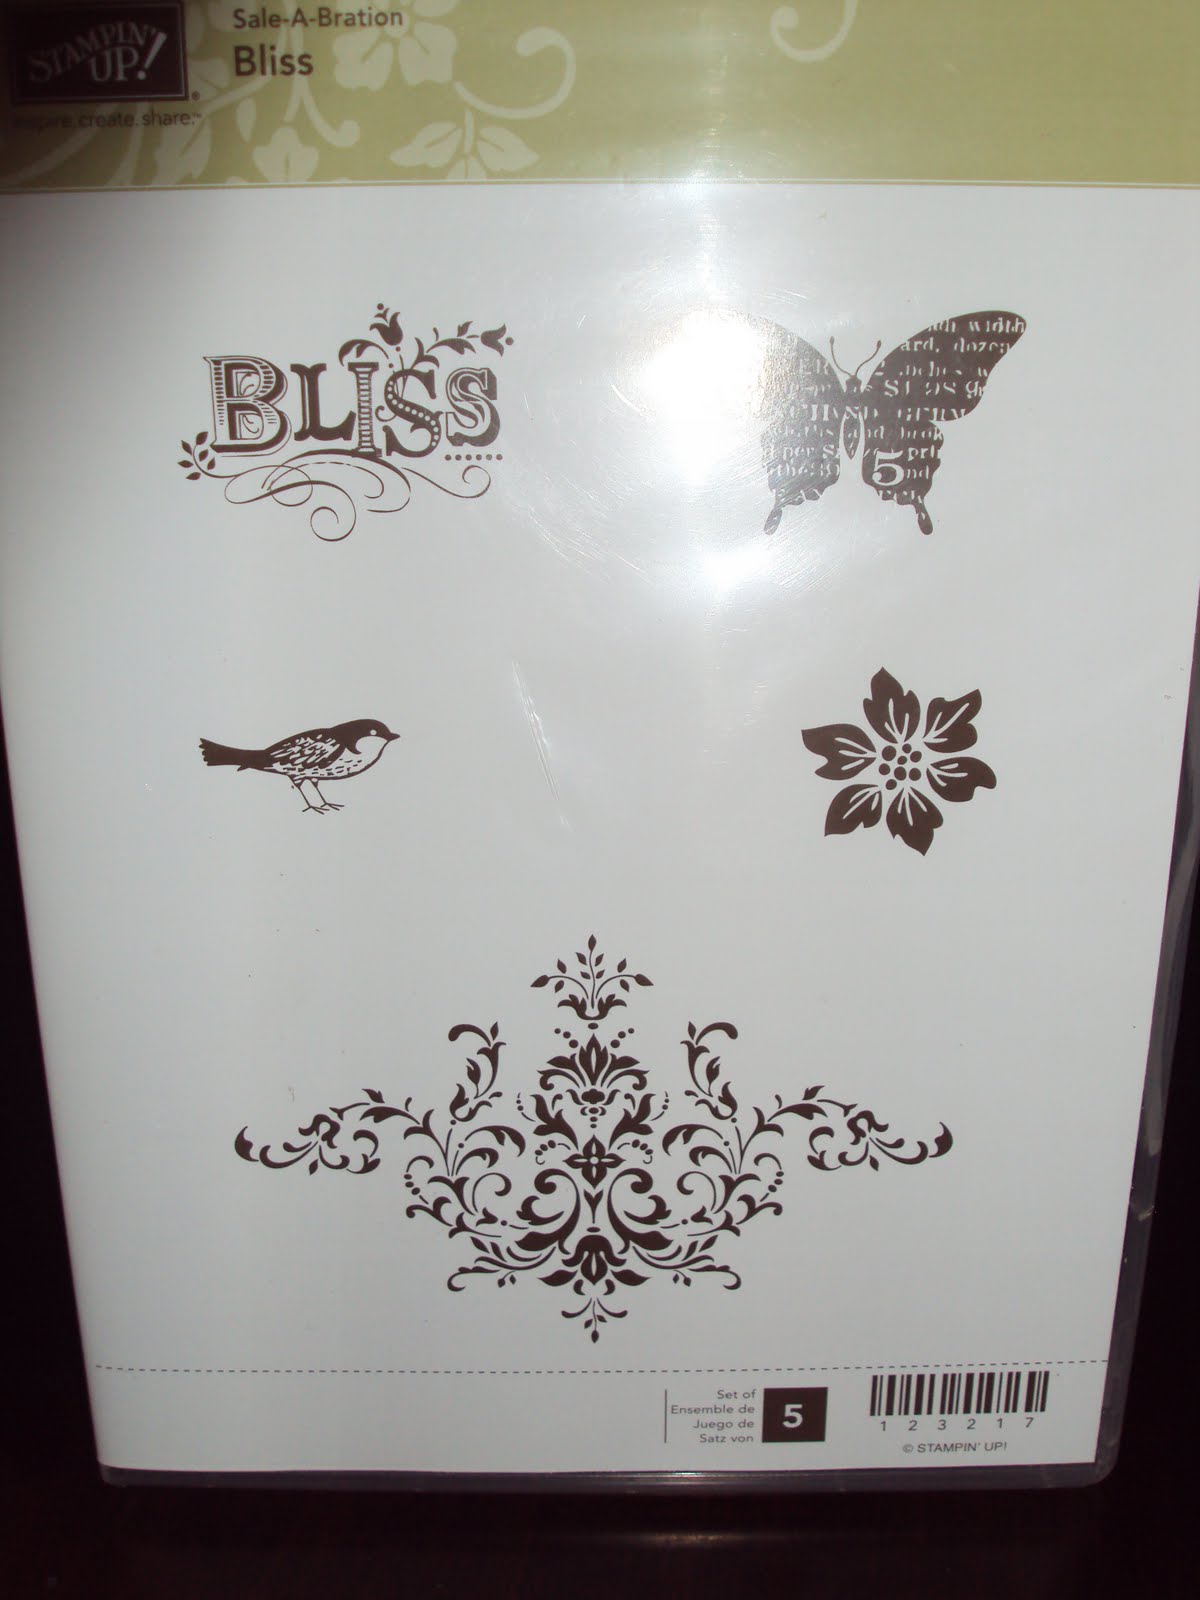
Now for some fun blog candy!!! I am going to be giving away a brand new stamp set from Sale-A-
1) Follow this blog or subscribe via email. See upper left hand corner of blog to do so.
2) Follow me on my youtube channel link here: http://www.youtube.com/user/MilaMemories (I made a special blog hop video showing my projects live and you can see the Blog Candy up close!!)
3) You must leave a comment under this post to win (I would love it if you would tell me what you would love me to do more of on my blog, videos, simple cards, fancy cards, simple layouts, more complex layouts, layouts using my Cricut or Sizzix Big Shot, etc.).
 Above is a card I made perfect for a boy or girl!! This is an older paper collection that I was so excited I got to use!! I did some layering, cut out some buses from the paper collection and used a stamp from Stampin Up! for the sentiment!! So easy and quick!!

Here is another card I made that is a little bit more on the elegant and softer side. Not so grunged up as the one above this one!! This card is perfect for your female teen or someone going off to college or graduate school!! I used all Stampin Up! cardstock, some designer series paper, cherry cobbler seam binding and my most favorite brand new stamp set that I am giving away to one lucky follower, the Bliss Sale-A-Bration stamp set from this past year. Of course, you know I had to use some shimmer paint and rhinestones!! I stamped the butterflies with the Cherry Cobbler ink and then cut them out and put shimmer paint all over them.

The last project I made was this altered frame using Graphic 45 Steampunk papers! It was so much fun altering this frame!! I thought it would be the perfect gift for someone going away for college!! Or a teen that is starting the new school year, just to say "Good Luck, this year!". I used some prima flowers, and lace. I also die cut a dress form using my Sizzix Big Shot, I used Claudine Helmuth Matte and Gloss Medium to cover all of the paper to protect it from dust and dirt, etc. Wendy at http://cricutyourclassroom.com
Michelle: http://queenofmycraftroom.blogspot.com
Carol~ http://cardstockscissorsandglue.blogspot.com
Susan - http://itsmesusanp.blogspot.com
Jenny - http://crazyaboutcricut.blogspot.com/
Jill ~ http://TheScrapoholic.blogspot.com
Lynne Kirsch ~ http://hercraftiness.blogspot.com
Tanya ~ http://little-scrapper.blogspot.com
Tina~ http://craftyandgreen.blogspot.com
Tammy ~ http://thepurplemuse.blogspot.com
Anita ~ http://www.anitaandbugs.blogspot.com
Lisa ~ http://handmadewithlove-lisa.blogspot.com
Corrine ~ http://celebratingordinarymoments.blogspot.com/
Robin ~ http://scrapandchat.blogspot.com
Stephanie ~ http://www.alwayscrafting.com
Donnalee ~http://ottersln.blogspot.com/
Jenn Lorist ~http://jennspapercrafts.blogspot.com
Berenice Rendon http://karbers.blogspot.com/
Sharon Littrell~http://simplysweetbysharon.blogspot.com/
Sherry Wolfe: http://www.upordowntheyrebeautiful.blogspot.com/
Kristen: http://fantabulouslypink.blogspot.com/
Mila (You are here) http://milamemories.blogspot.com
Wendy http://cricutyourclassroom.com
Bobbi Jo - http://sweetsassydiva.com
Andrea http://andreascoffeetime.blogspot.com/
Kerri ~ http://www.caresofkerri.blogspot.com/
Kimberly~ http://hellocutiecrafts.blogspot.com
Jamie - http://jmecreations.blogspot.com
Misty ~ www.abusyplace.blogspot.com
Wendy http://cricutyourclassroom.com
Post Comment Below (click on comments):