Hi Everyone!! Welcome to this weeks How-To tutorial! I was so excited to get my last
Stampin Up order the other day, because i had finally ordered the Candy Wrapper die for my Big Shot! I started playing with it right away of course! In addition to the article this week, I also made a video taking you step by step live. Here is the link for the video:
Milamemories Youtube Channel!
Enjoy!
Materials:
-Sizzix Big Shot
-
Stampin Up Candy Wrapper Die
-Coordinations Cardstock
-Tim Holtz Distress Inks
-2" Circle Scallop Punch
-
Stampin Up! Vintage Wallpaper Embossing Folder
-Bone Folder
 |
| The first thing I did was cut out the die cut using my Sizzix Big Shot and the Premium Crease pad. The crease pad really gives your die cut crisp creases, so that you just have to run |
 |
| This is the Stampin Up! Candy Wrapper die!! It is so much fun!! The actual part that cuts out is about 6 x 6 |
 |
| I used shims along with a thin piece of paper at the bottom of my sandwich so that my score marks would come out better. |
 |
| The next thing I did, since I had my Big Shot out anyway was emboss a piece of Black/White Coordinations paper. I like this paper for embossing because you can create some really neat effects with it. The one technique that I used on this project was embossing it with a Stampin Up! embossing folder and have the core of the white show through |
 |
| This is how it turns out after using the embossing folder, I set this aside to put the wrapper together |
 |
| I used my bone folder to make sure that all of the folds are super crisp and then I took my hot glue and glued the sides together. I would normally never use a glue gun for the inside of my candy wrappers or anything else that will house food inside, but for the purpose of the video I had to. My ATG gun was sick with some glue stuck to the sides. It has since then healed up and is ready to go!! :) |
 |
| In this picture, I am again making sure that my folds are super crisp, this will make it so much easier for me to put the end tabs together and be able t close the box without any adhesive |
 |
| You need to play around with the tabs a bit for them to give in and bend easily, after a few times, it is really easy and the box is put together |
 |
| After I am done putting the box together, I go back to my embossed piece and sand the black core of the card stock just a bit more. I do this so that there is more of the white core showing up |
 |
| In this picture you can really see more of the white core as opposed to the picture above |
 |
| The next thing I did was take some Spiced Marmalade and Dusty Concord distress ink and, use a direct ink to paper technique. It is just the way it sounds. I took my whole ink pad and rubbed it directly on to the paper. I did the same for both colors |
 |
| In this picture you can see the above technique, parts of what used to be the white core are now colored in with the distress inks |
 |
| I took a 2" scallop circle punch and punched the middle section of the embossed image |
 |
| After I punched out the scallop circle I adhered it to my candy wrapper using hot glue |
 |
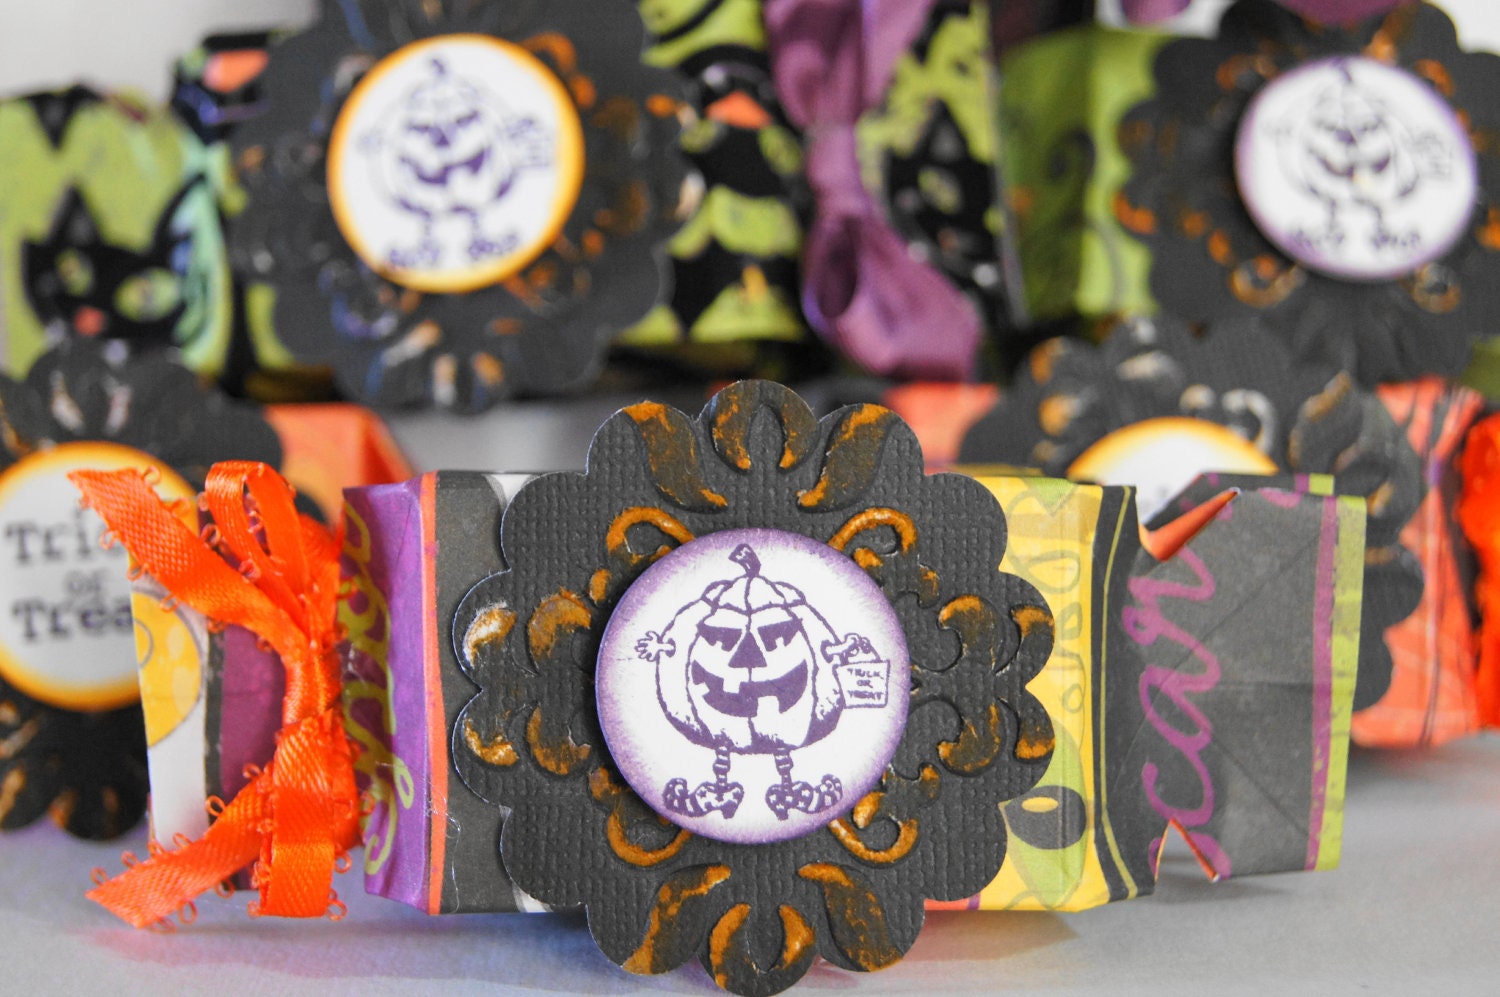
| Here is one of the finished wrappers fully embellished with a stamped pumpkin image on it. |
|
|
|
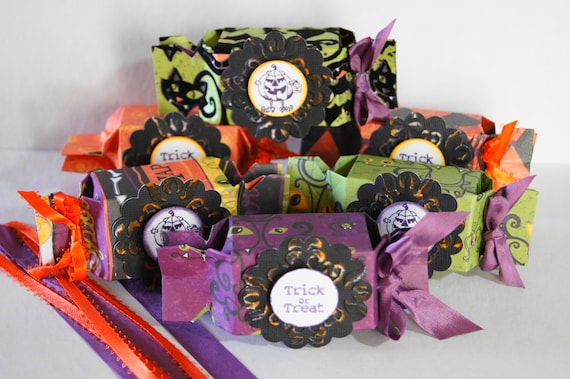
Thanks for visiting today!! I hope that you enjoyed my tutorial on how-to make a candy wrapper favor for Halloween. Feel free to let me know if you have any questions.
A set of 6 of these super cute boxes are for sale in my etsy store at
Milamemories Etsy
Hugs,
Mila


No comments:
Post a Comment