
HAPPY FRIDAY!!
I am a little late in the week with this week's How To tutorial, but better late then never LOL. Hope everyone had an awesome week!! It has been a busy one for me.
This is another Halloween mini album that i made for my Etsy shop, it was so much fun to make and to try a few different techniques on it. I will have a detailed video on my blog tonight, including how i put the base of the mini album together, and then going into the details of the embellishments and the pockets.
 |
| I tried not to do much to the cover of the mini album, since i found it very busy already, but i just loved all of the characters on it, especially the pumpkins and the cat. I put Crystal Effects on all of the candy corn pieces, so that it would give it an awesome 3D visual, then I fussy cut the pumpkin in the center, the black cat at the top and the green Frankenstein character, then I popped those up using dimensionals, i die cut some flowers using my big shot, and then put Prima centers in them. I also used a glitter pen to add some shimmer to the centers of the flowers and of course no cover could go without some Prima bling (can we say addiction). |
 |
| On the first page, i used my Cricut Expression (October 31 Cartridge) to cut out the pocket Pumpkin Patch, so simple, yet so cute!! The second page has a pocket that I created out of thin chipboard, it was really interesting and fun, i tried to do a few different techniques with it. The first thing i did was used a mask by Tim Holtz for the witch, while the mask was on i used Peeled Paint distress ink and covered the whole pocket with it, then when i took the mask off, i was left with a white part on the chipboard, so i took some Dusty Concord distress ink and colored in the witch and the bat. I took a tree rub on and placed it over the peeled paint distress ink, and then i colored in the rest of the chipboard piece with the peeled paint again to make it darker so that it would look like the moon is shining down on the tree, which has a lighter halo around it. Then there are some tags in the pocket. |
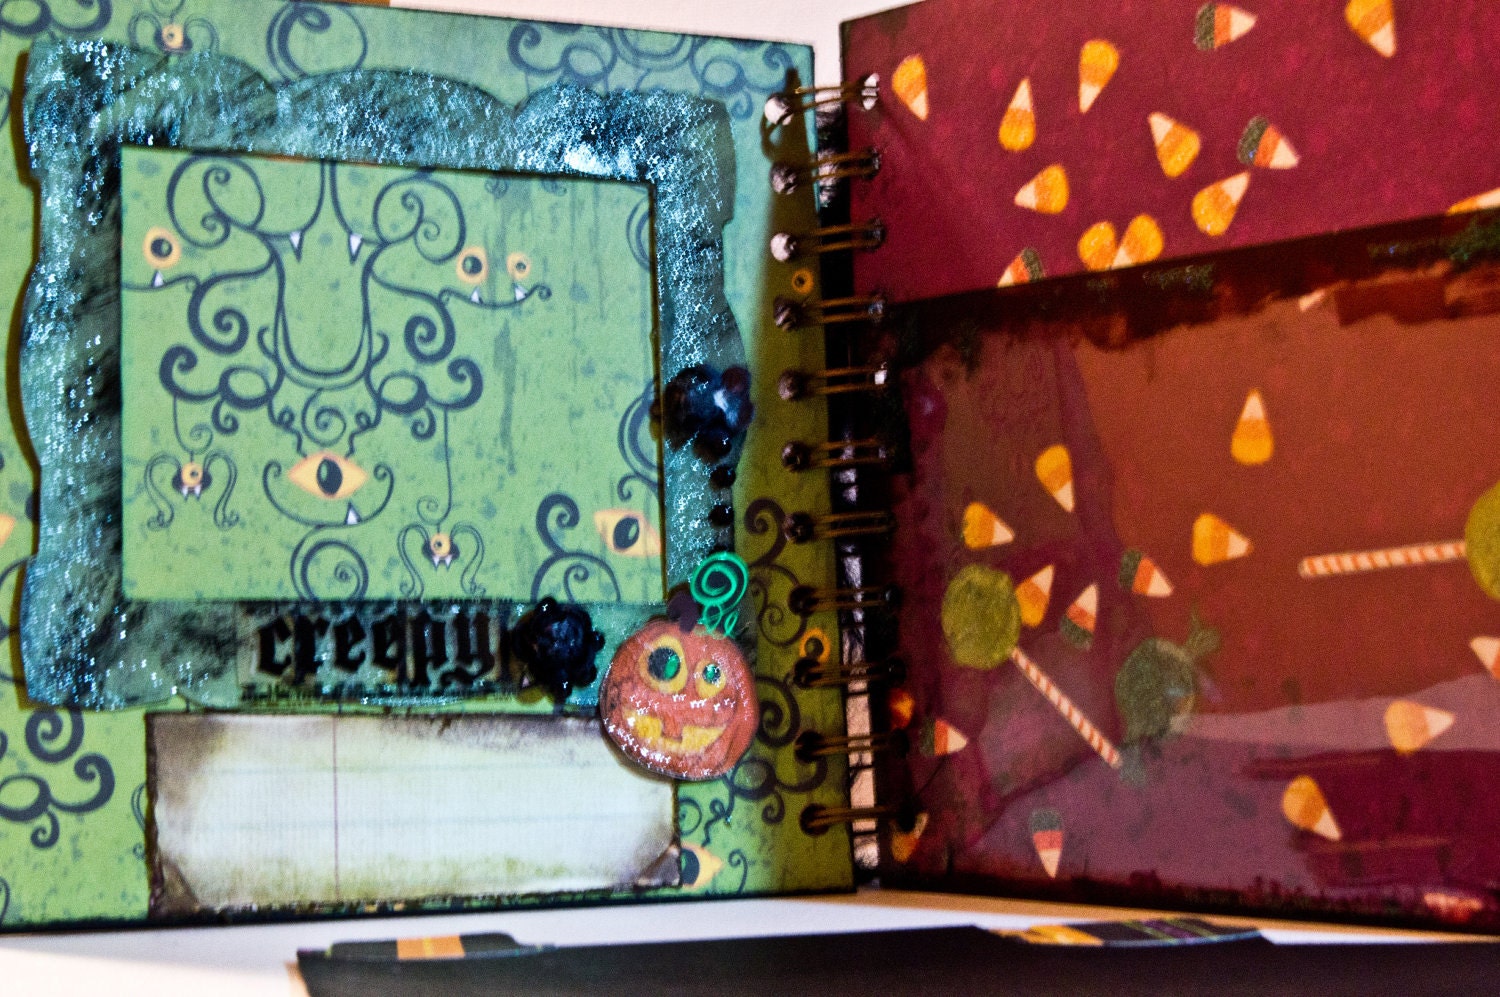 |
| The next page has a frame (medium weight chipboard) that i die cut with my big shot and painted black, then i painted it with green acrylic paint, and the last thing i put on it was some distress crackle paint. I love how it turned out, you can see bits of the black behind the green paint. The next page is just an acrylic pocket that holds (3) photo mats. |
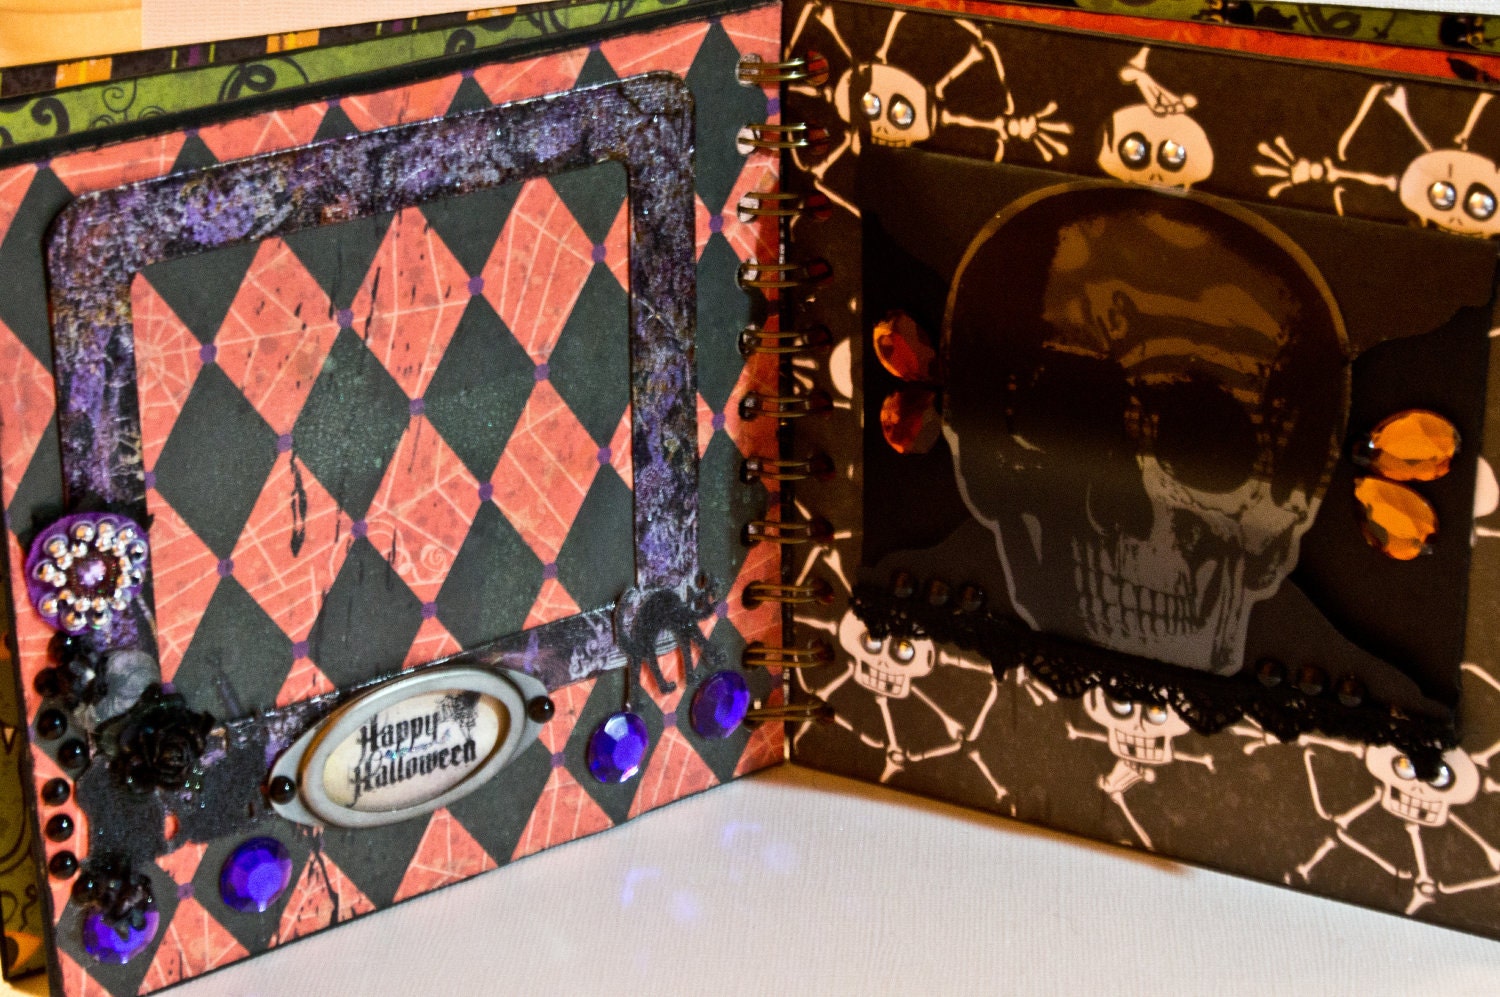 |
| The frame was die cut with my big shot, i did so much distressing to it and tried a few new techniques. I took some purple and orange acrylic paint and just made some brush strokes with the paints, then i took a flourish stamp, versamark ink and silver embossing powder, I heat embossed the images, the last thing i did was took some distress stickles in Rock Candy and rubbed that all over the frame. Once that dried really well, i took some Dusty Concord distress ink and rubbed it across the frame straight from the pad to the frame, it gave the stickles this deep purple color, but yet they are still super shiny, i love the way it turned out, so unique and original looking. Can't forget my flowers and black bling!! The next page is an envelope pocket that i cut out using my Cricut, it holds (3) photo mats, the acrylic skull keeps it closed, i really like the way the bling made it look, i think it helped it tie into the previous page a little more. I also used my I-Rock to give all the skeleton heads some blingy eyes. |
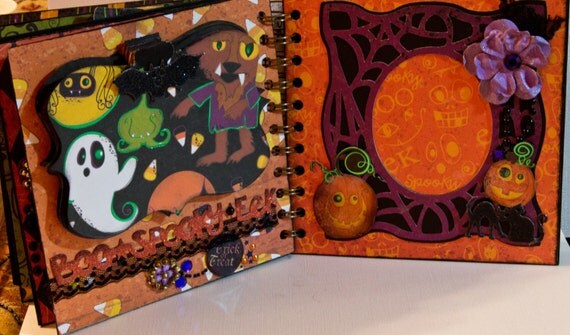 |
| This is a neat page that holds a little mini within the mini. There are 5 pages that are held together by some tabs that i cut out using my cricut, you can flip through the little mini album (so cute!!), then i used a border from the collection, but it was too orange for me, so i distressed the top with Dusty Cocord distress ink and tried to blend it into the orange, i like the way it turned out so much more then it was. Of course some black lace is need along with bling and a flower. The frame on the right hand side of the picture was cut out using my Cricut Expression (Happy Hauntings Cart), I fussy cut some of the pumpkins from the collection and put Distress Crackle Paint in Rock Candy over them, to give them a nice shine, and lastly i hand painted the purple flower to give a bit more touch of color. |
 |
| These pages are really neat looking, the file folder was cut out using my Cricut Expression, it holds some files and tags inside for pictures and journaling. I used a sizzix scallop frame to die cut the green frame and then applied some Distress Crackle paint (Peeled Paint). I really like the way it turned out, added some Prima bling and flowers, applied Crystal Effects to the cat (fussy cut that from the collection), and the last page is an acrylic pocket that holds some photo mats and tags, the cats are a felt material on this page, i thought it looked so cool with the acrylic pocket with the bats and fence. |
As always i love your encouraging and motivational comments!!!
Hugs,
Mila
Your mini album is STUNNING!!!!!
ReplyDeleteDana
Danascraftycorner.blogspot.com
This is beautiful work! Love it. TFS
ReplyDeletehopped over from 2peas. This album is fantastic!
ReplyDeleteI love the mini album! I have so many of my grandchildren at Halloween I will need to do this for them. Maybe even make one for each family???
ReplyDeleteI love your album! I stumbled across it while looking for Halloween mini album inspiration. I've included you in my Scrappin' Saturday post on Fantabulous Cricut:
ReplyDeletehttp://fantabulouscricut.blogspot.com/2011/10/scrappin-saturday-halloween-mini-albums.html
Thanks for sharing,
Jessica